Part A: The Power of Diffusion Models!
Part 0: Setup
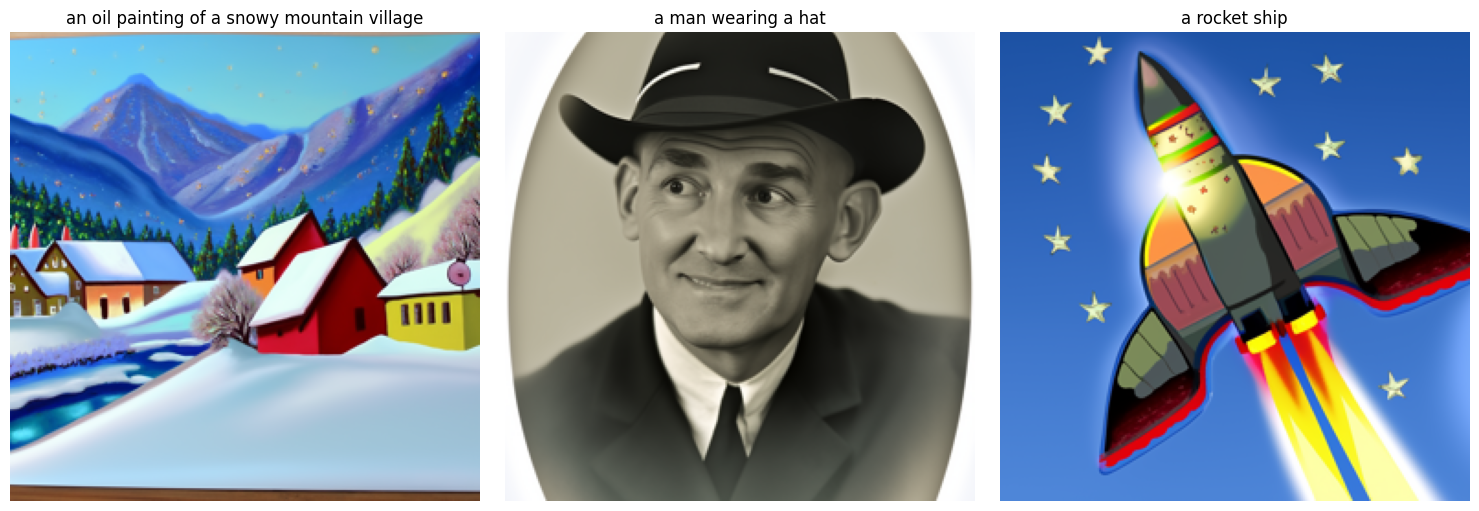
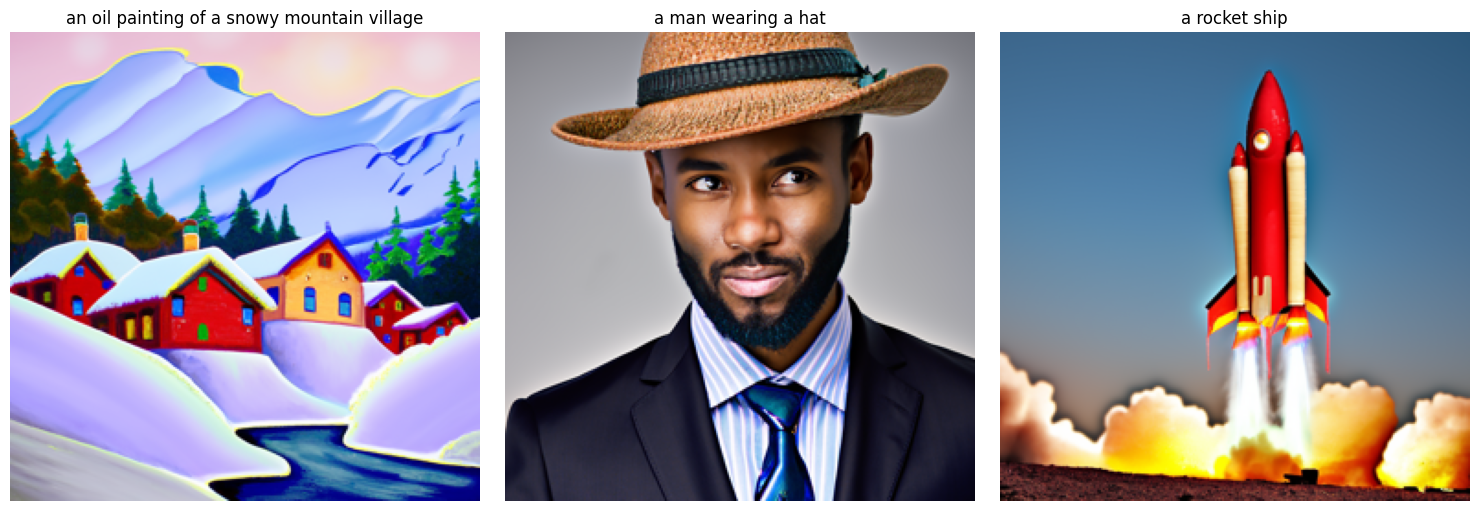
In this section, I used three text prompts (“an oil painting of a snowy mountain village,” “a man wearing a hat,” and “a rocket ship”) to generate images at two different numbers of inference steps (20 and 30).
The random seed I used is 180
Part 1: Sampling Loops
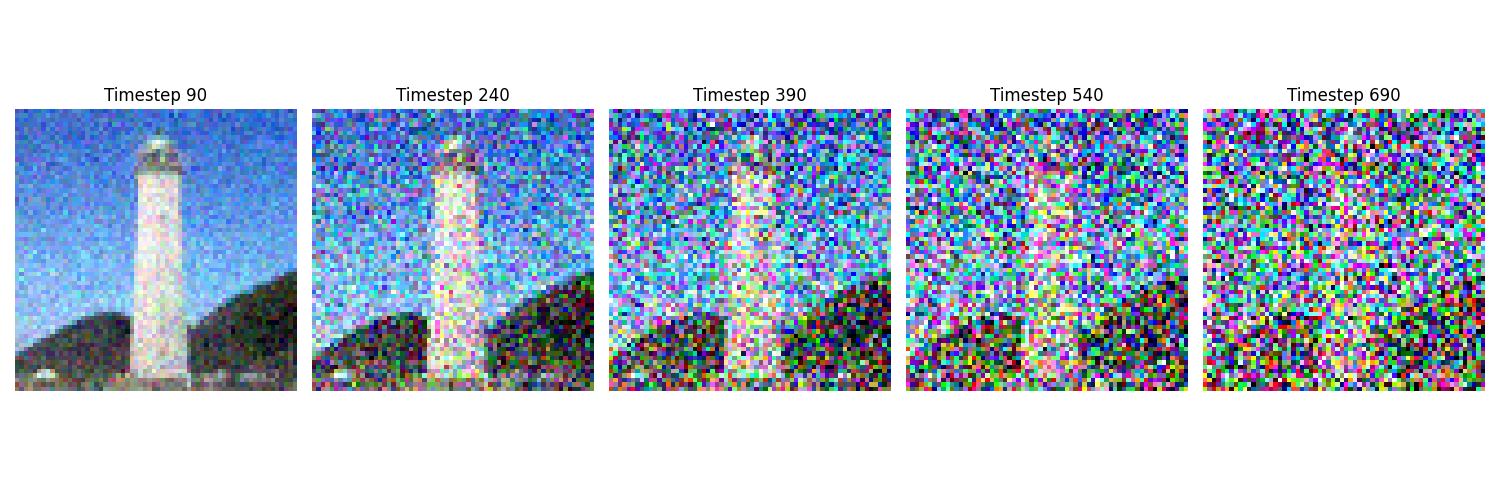
1.1 Implementing the Forward Process
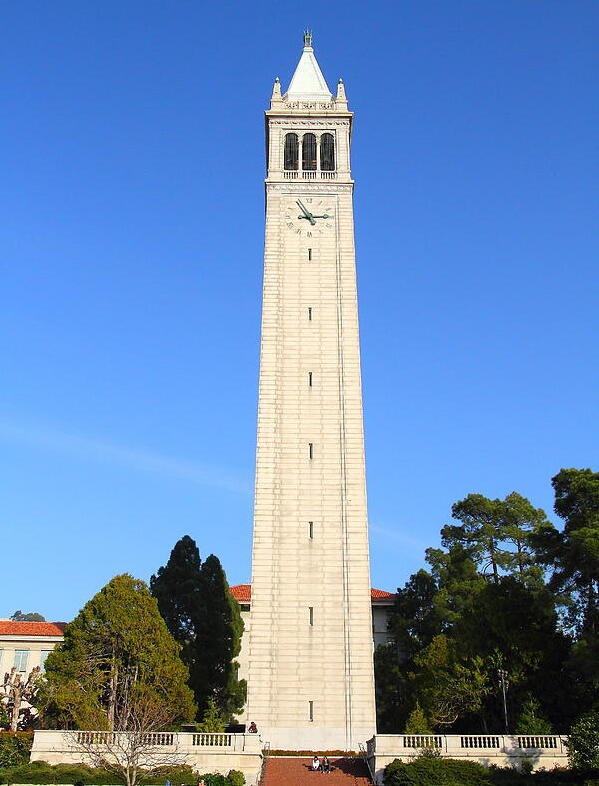
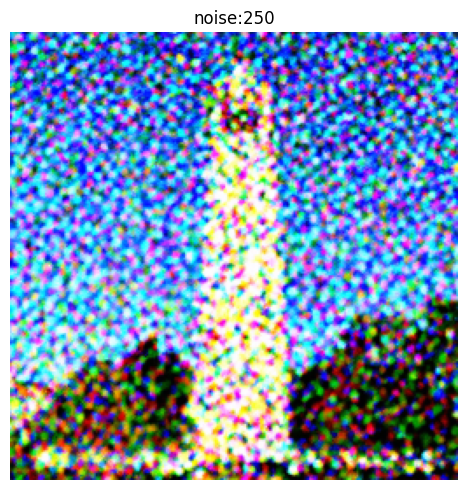
I use equation (A.2) to create a noisy image
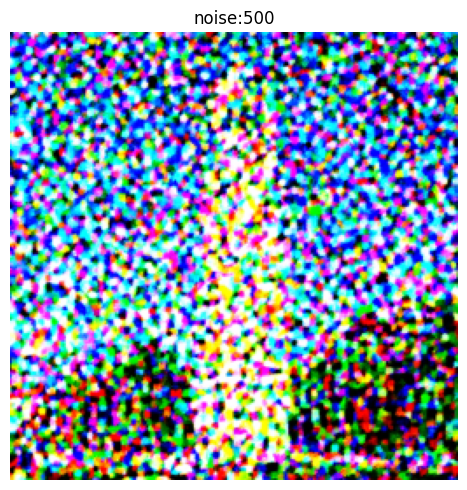
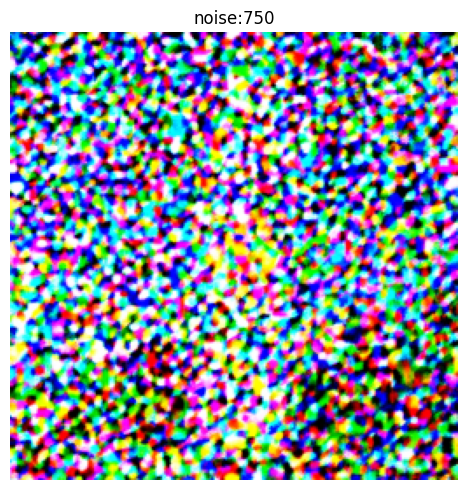
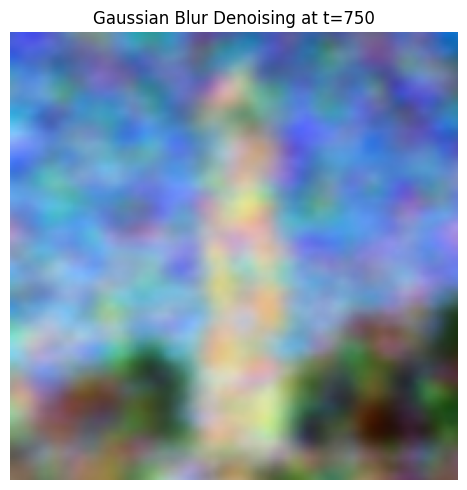
1.2 Classical Denoising
For noise level 250, the best kernel size I set is 5 and alpha is 2. For noise level 500, the best kernel size I set is 5 and alpha is 3. For noise level 750, the best kernel size I set is 5 and alpha is 4.
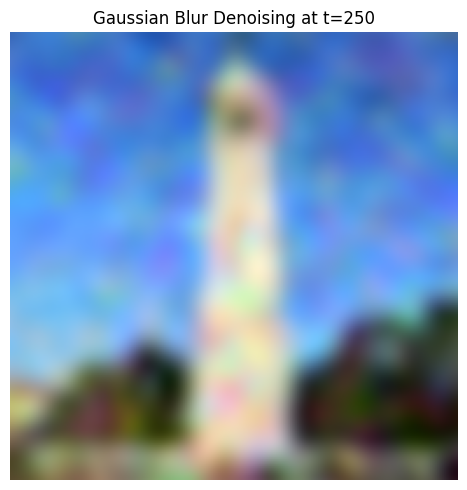
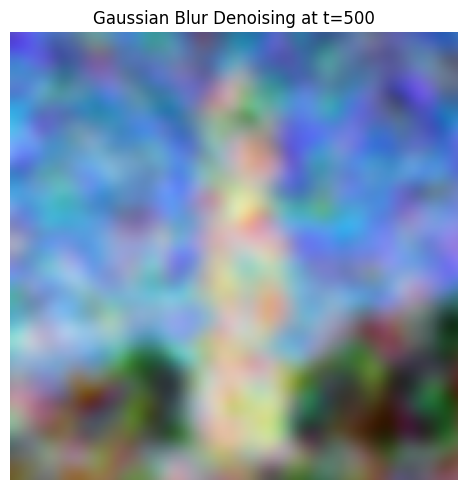
1.3 One-Step Denoising
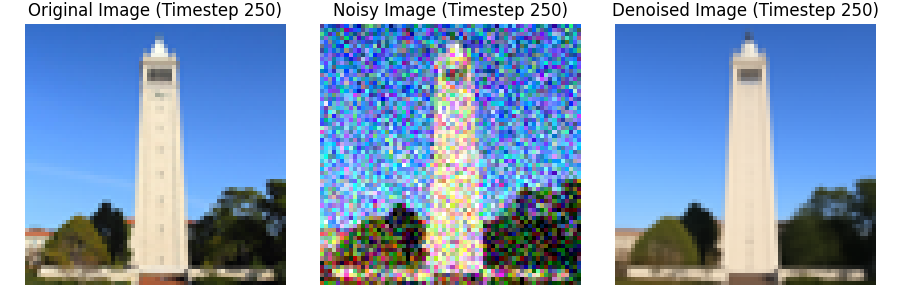
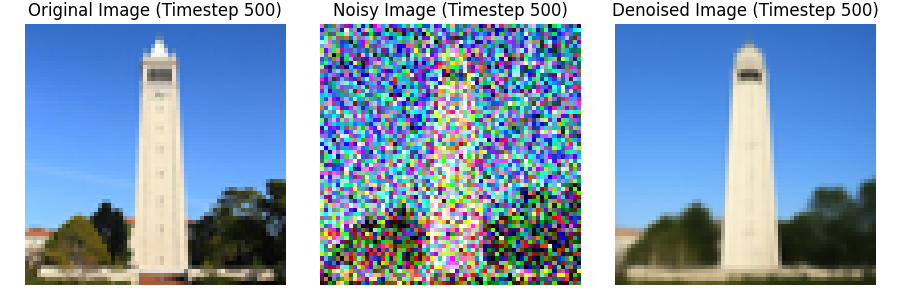
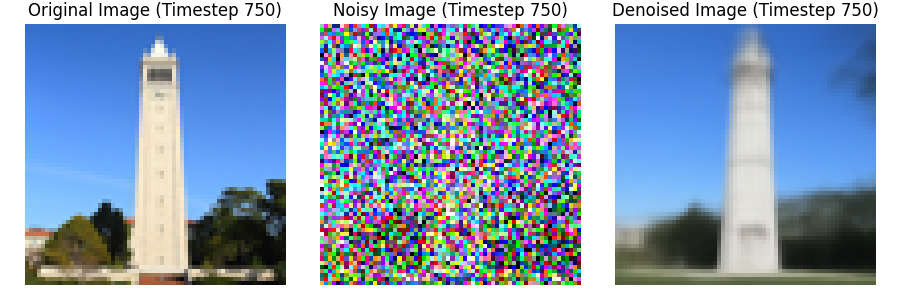
In this part, I use unet to denoise image by predicting the noise
1.4 Iterative Denoising
In one step denoising, we cannot completely get a clear image in most of time. We can utilizs diffusion models to denoise iteratively

1.5 Diffusion Model Sampling
I use the diffusion model to generate images from random noise and set i_start = 0.

1.6 Classifier-Free Guidance (CFG)
By CFG, we can generate images that adhere more or less closely to the text prompts we provide

1.7 Image-to-image Translation
By following the algorithm SDEdit, we can create a new image which is similar to the original image. I use 'a high quality photo' as the text prompst in the following 3 results


1.7.1 Editing Hand-Drawn and Web Images
The algorithm is effective at projecting non-realistic images onto the natural image manifold. In the following experiment, I will use one image sourced from the web and two hand-drawn images.
The web image of avocado

Hand-written images


1.7.2 Inpainting
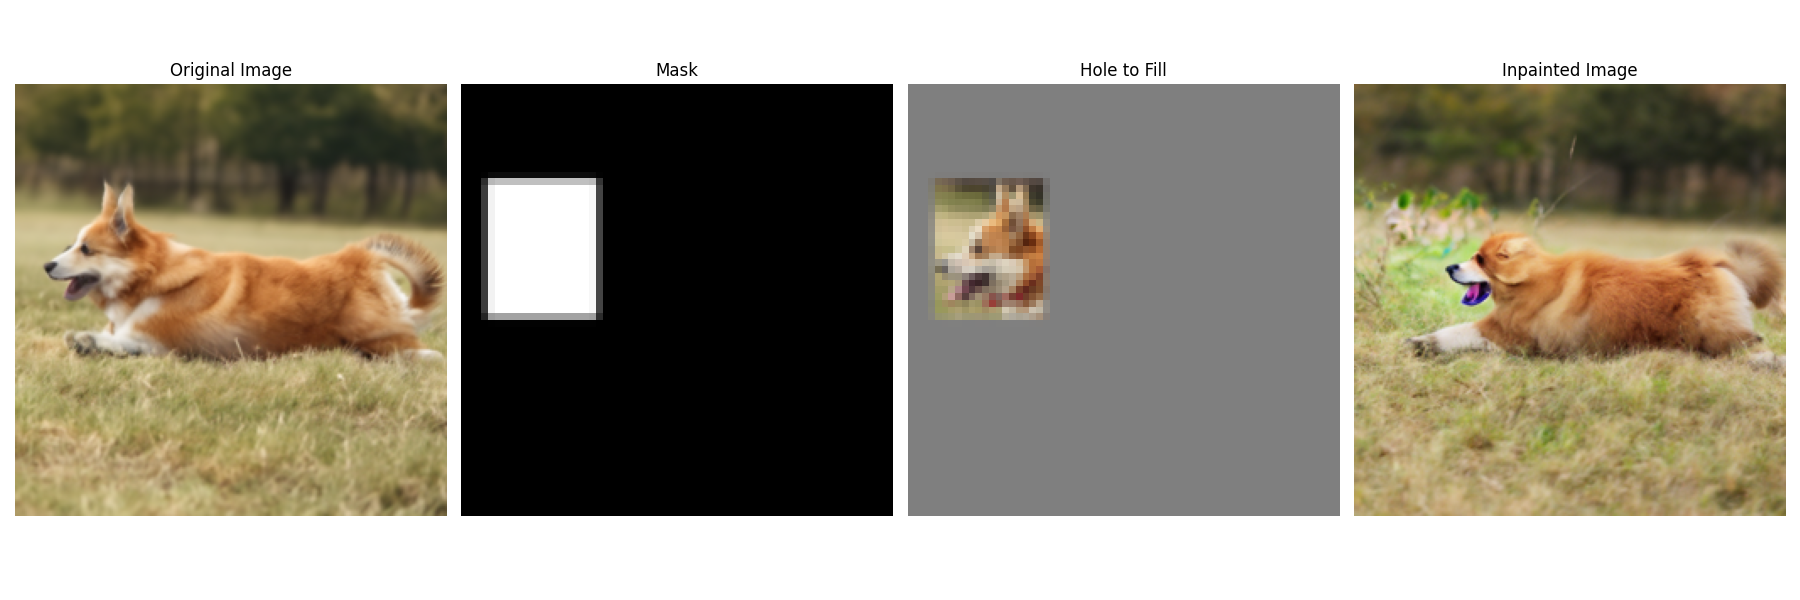
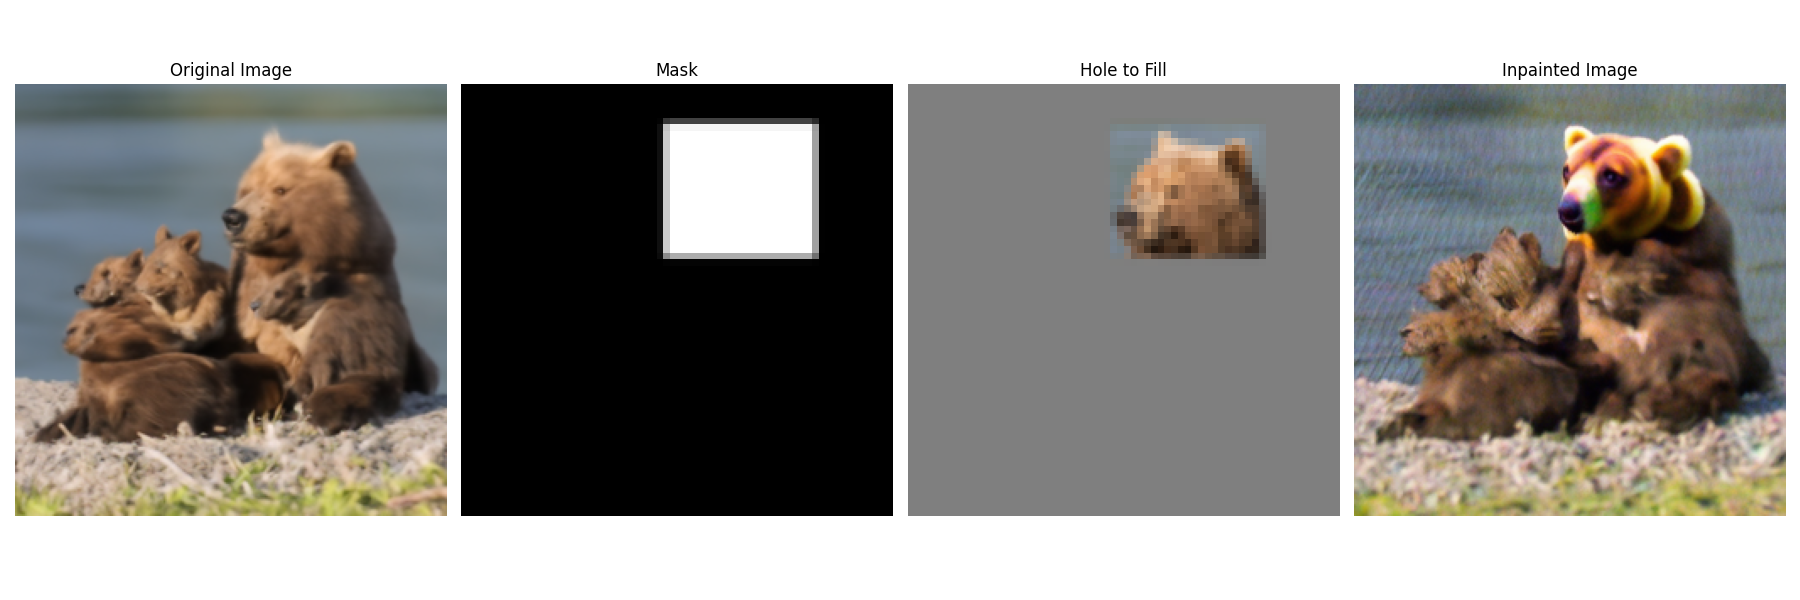
We can use a similar approach to implement inpainting, as described in the RePaint paper. We can create a new image that preserves the original content, while generating new content.
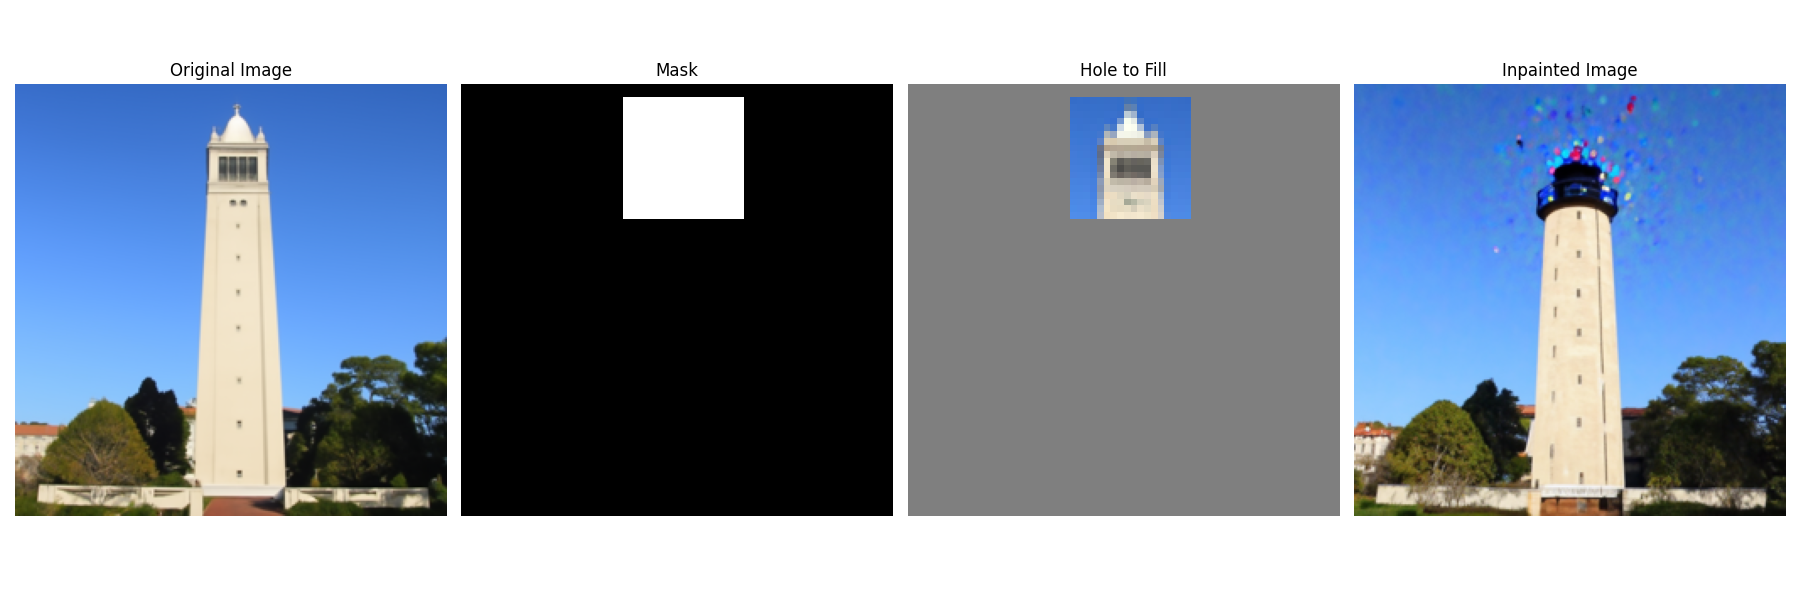
I use text prompt 'a dog is running on the grass' in the example below.
I use text prompt 'a bear is sitting on the ground' in the example below.
1.7.3 Text-Conditional Image-to-image Translation
This method allows to use text prompt to guide projection.
Text prompt: a rocket ship

Text prompt: a rocket ship

Text prompt: a lion is running on the grass

1.8 Visual Anagrams
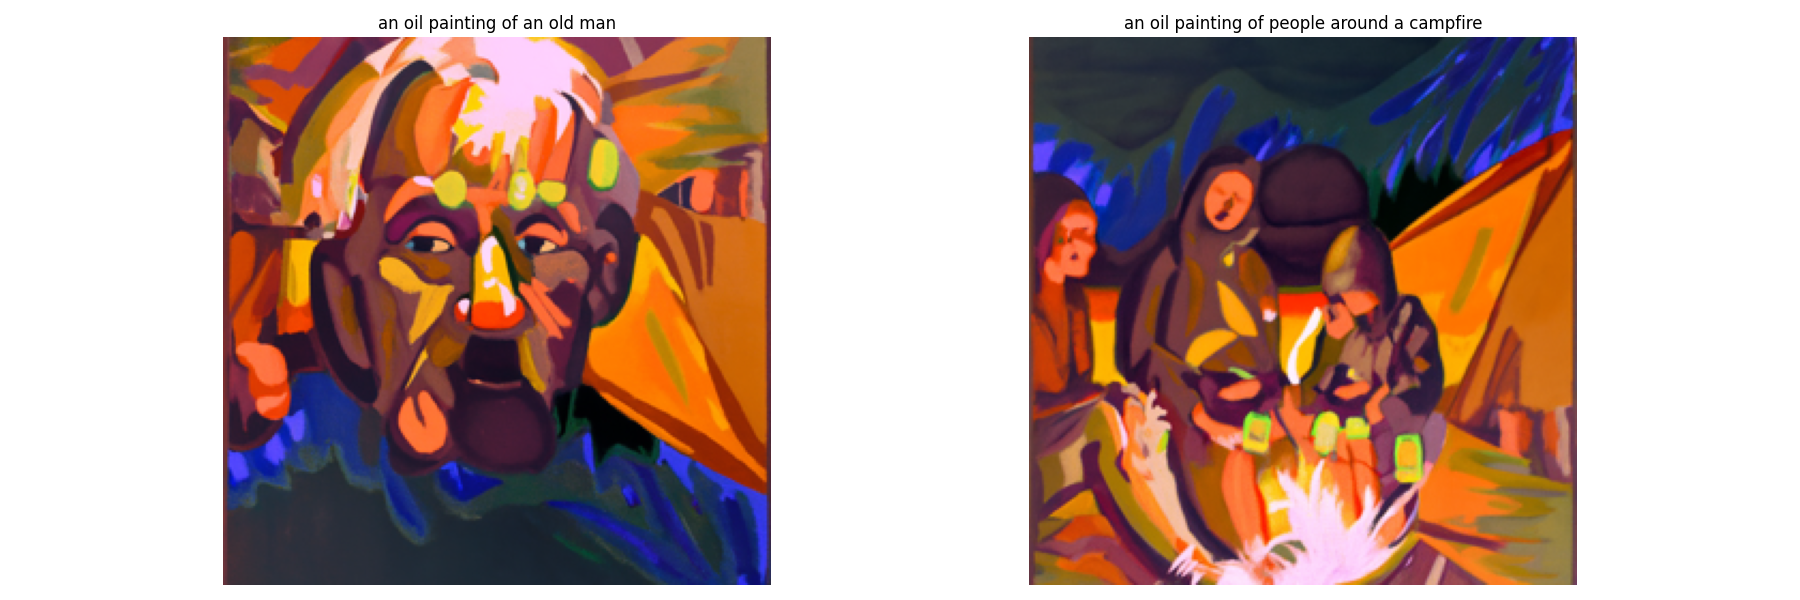
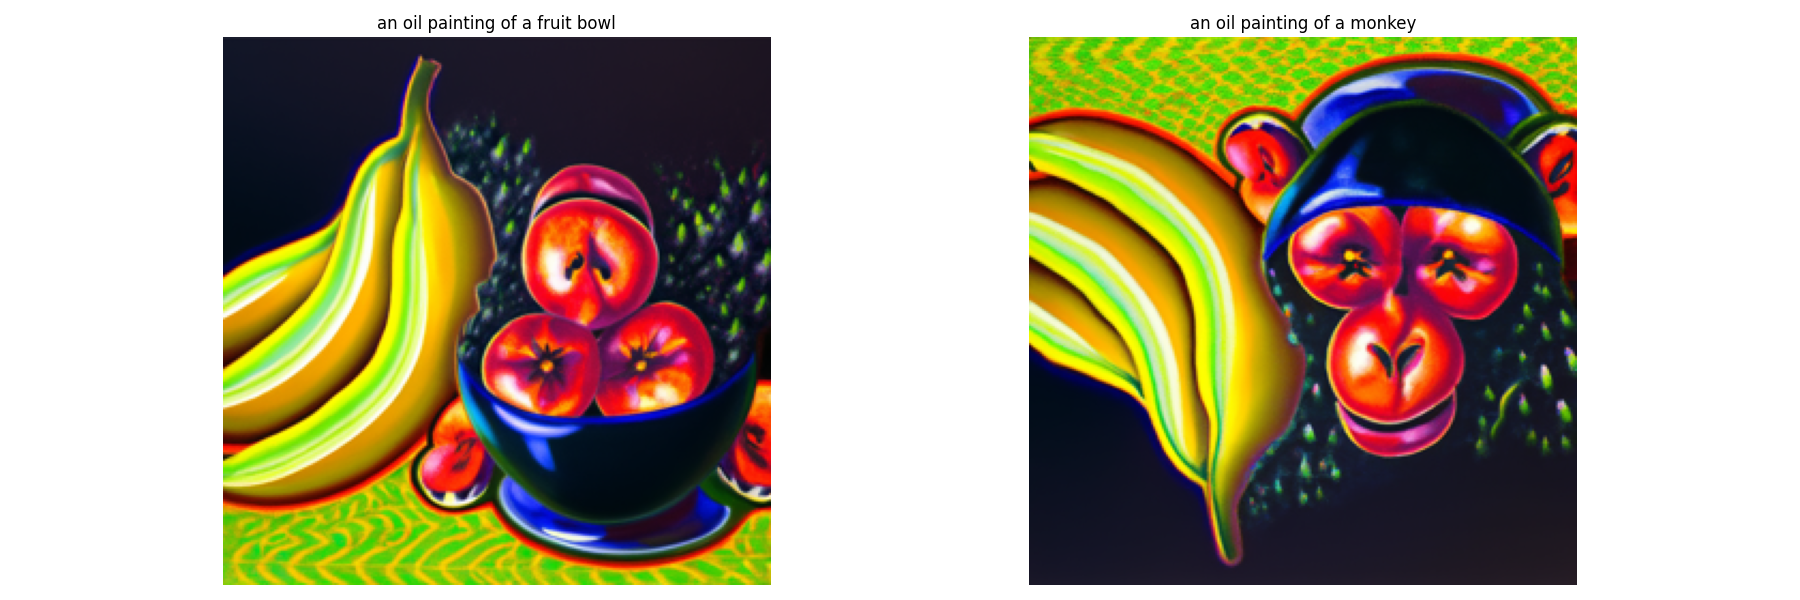
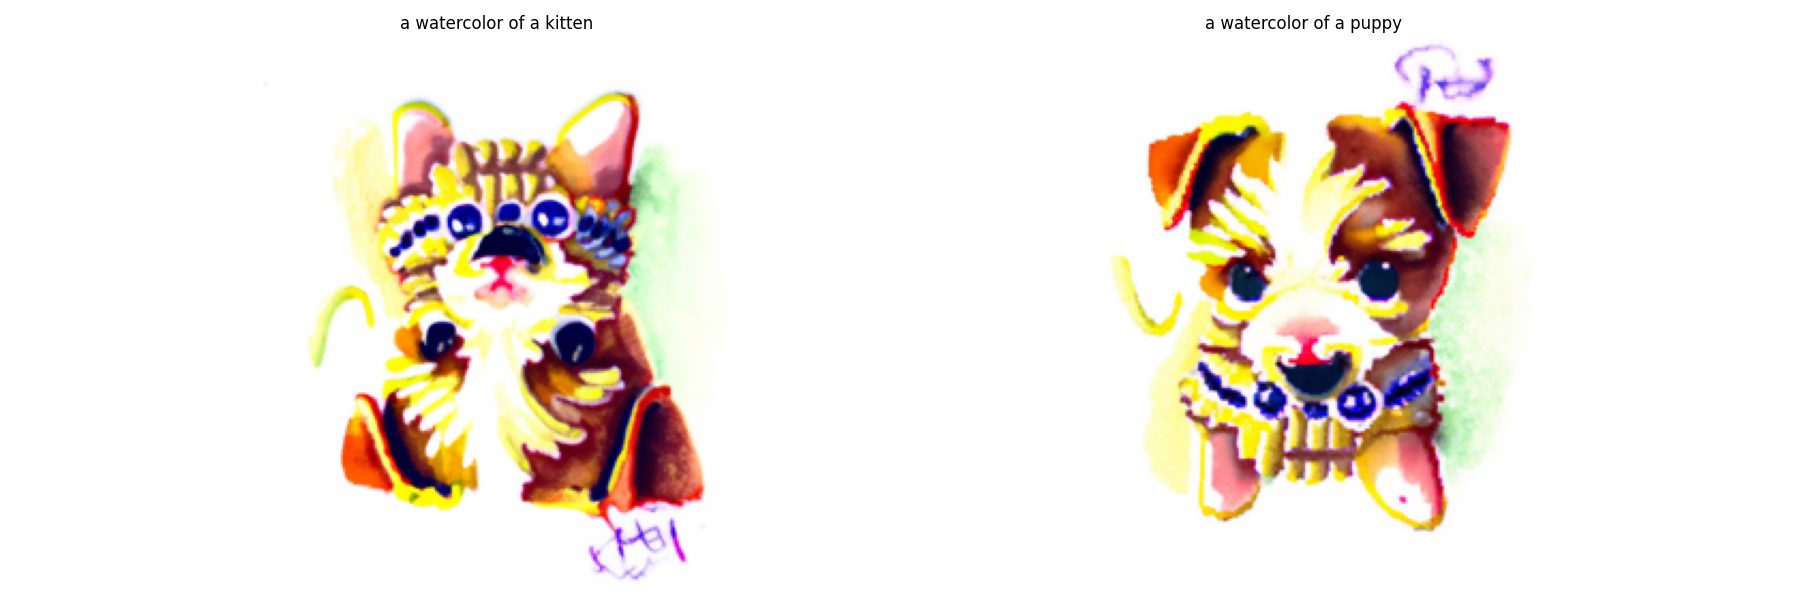
By following the steps in Visual Anagrams, we can create optical illusions using diffusion models.
Example 1: an oil painting of an old man & an oil painting of people around a campfire
Example 2: an oil painting of a fruit bowl & an oil painting of a monkey
Example 3: a watercolor of a kitten & a watercolor of a puppy
1.9 Hybrid Images
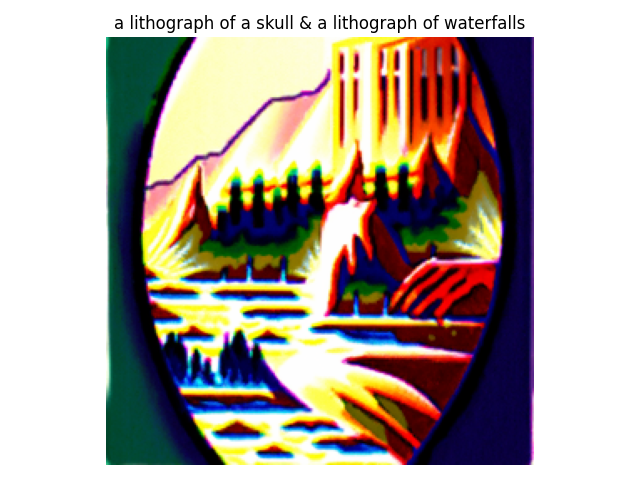
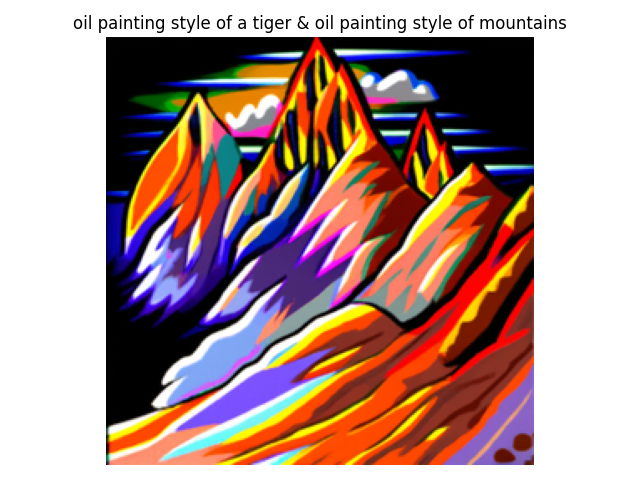
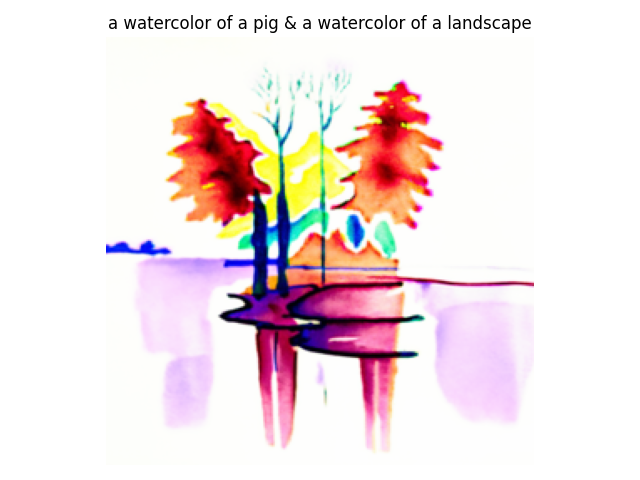
In Factorized Diffusion, we can create a hybrid image by applying a high-pass filter and a low-pass filter separately to two noise and then combining the filtered results to get the final noise to generat image.
Example 1: a lithograph of a skull (low) & a lithograph of waterfalls(high)

Example 2: oil painting style of a tiger (low) & oil painting style of mountains(high)

Example 3: a watercolor of a pig (low) & a watercolor of a landscape (high)

Part B: Diffusion Models from Scratch!
Part 1: Training a Single-Step Denoising UNet
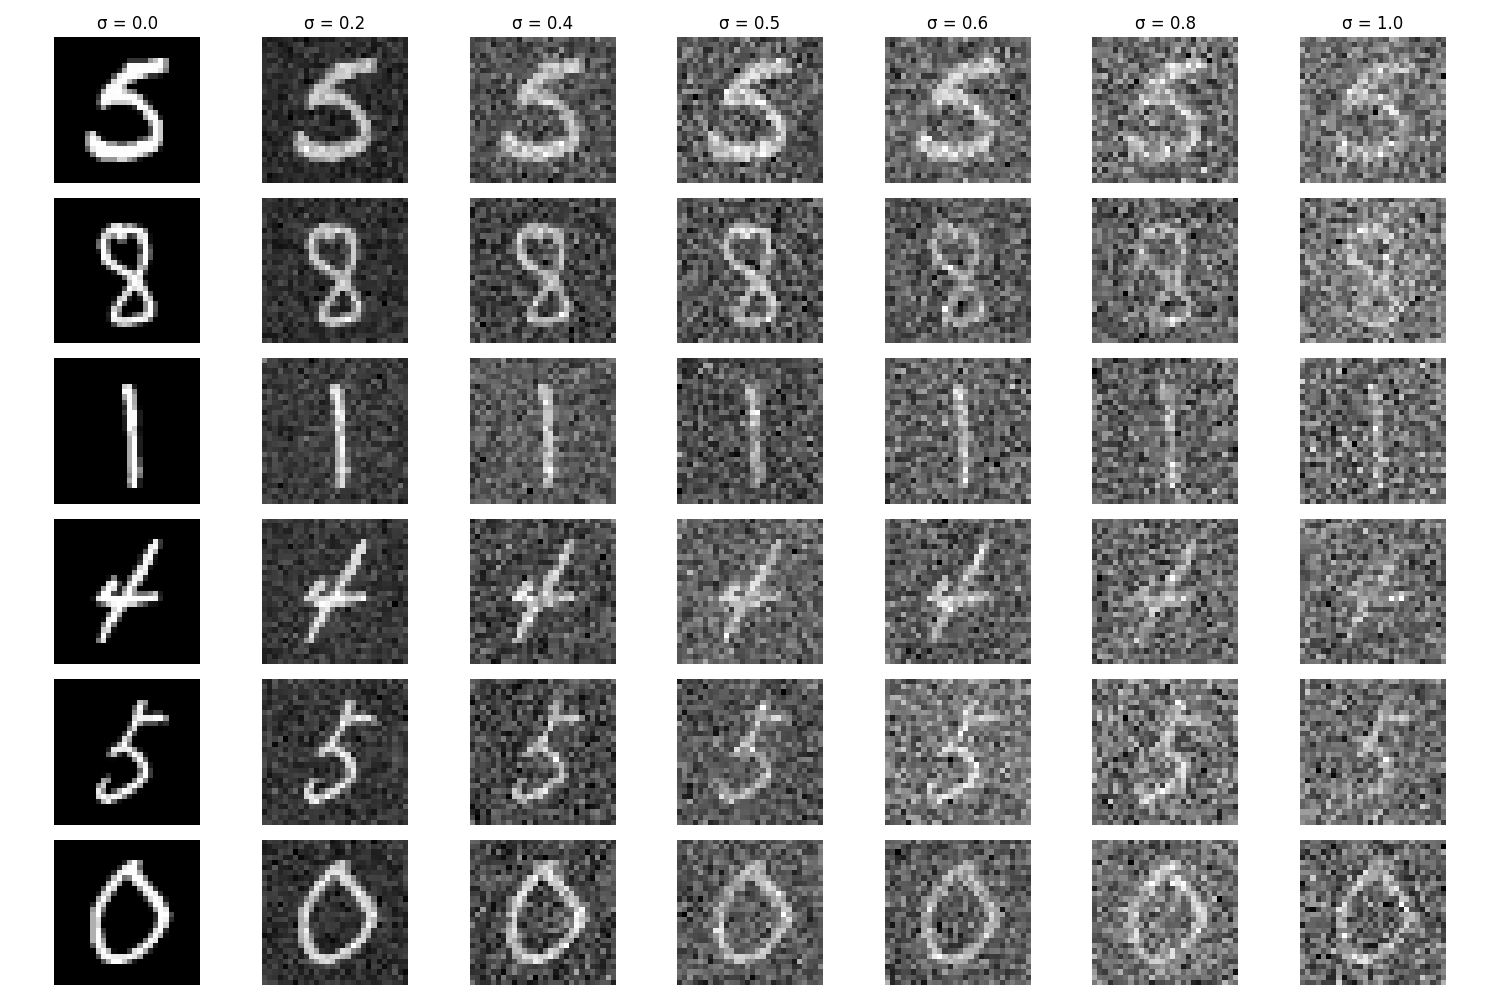
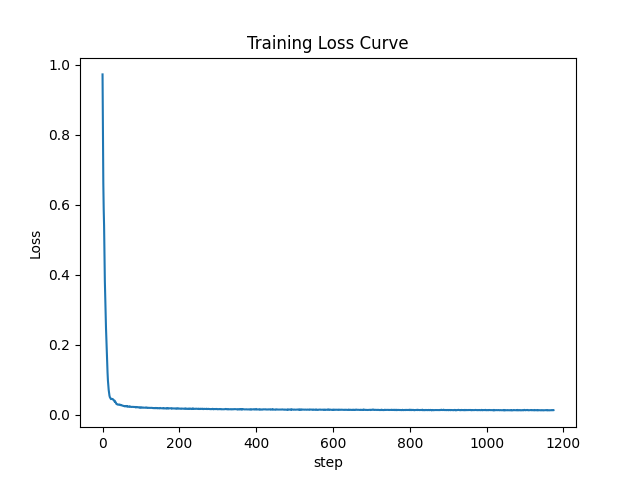
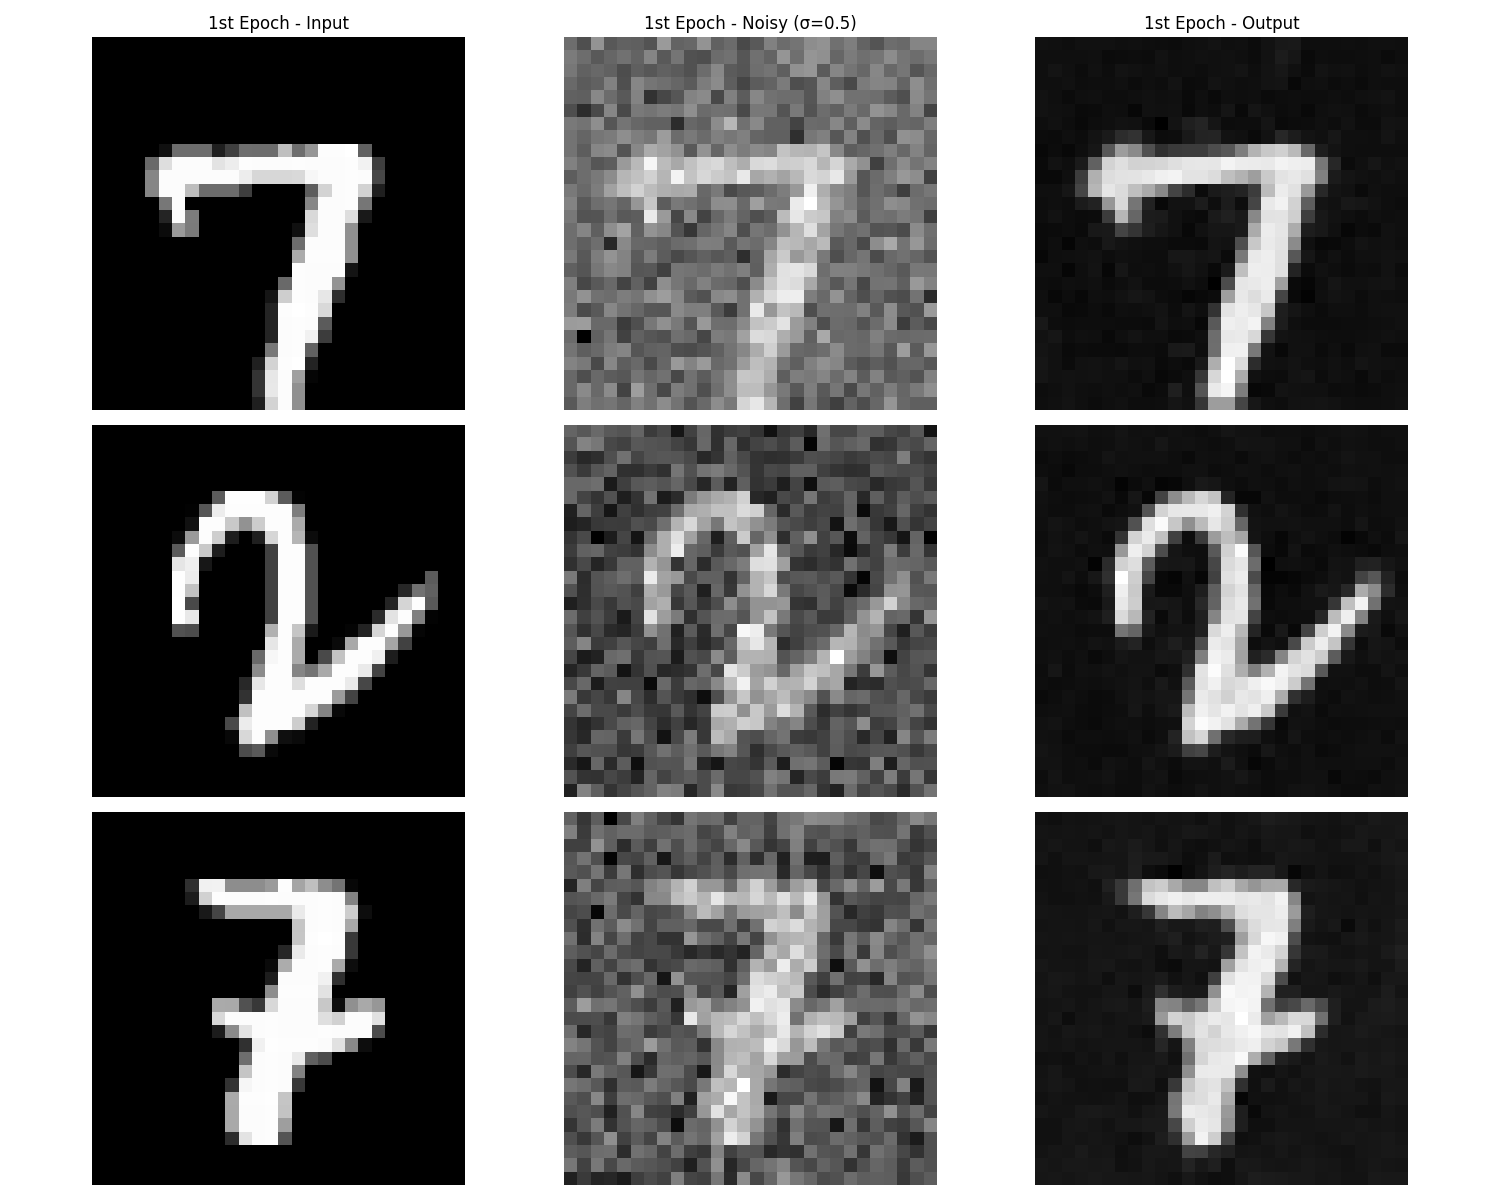
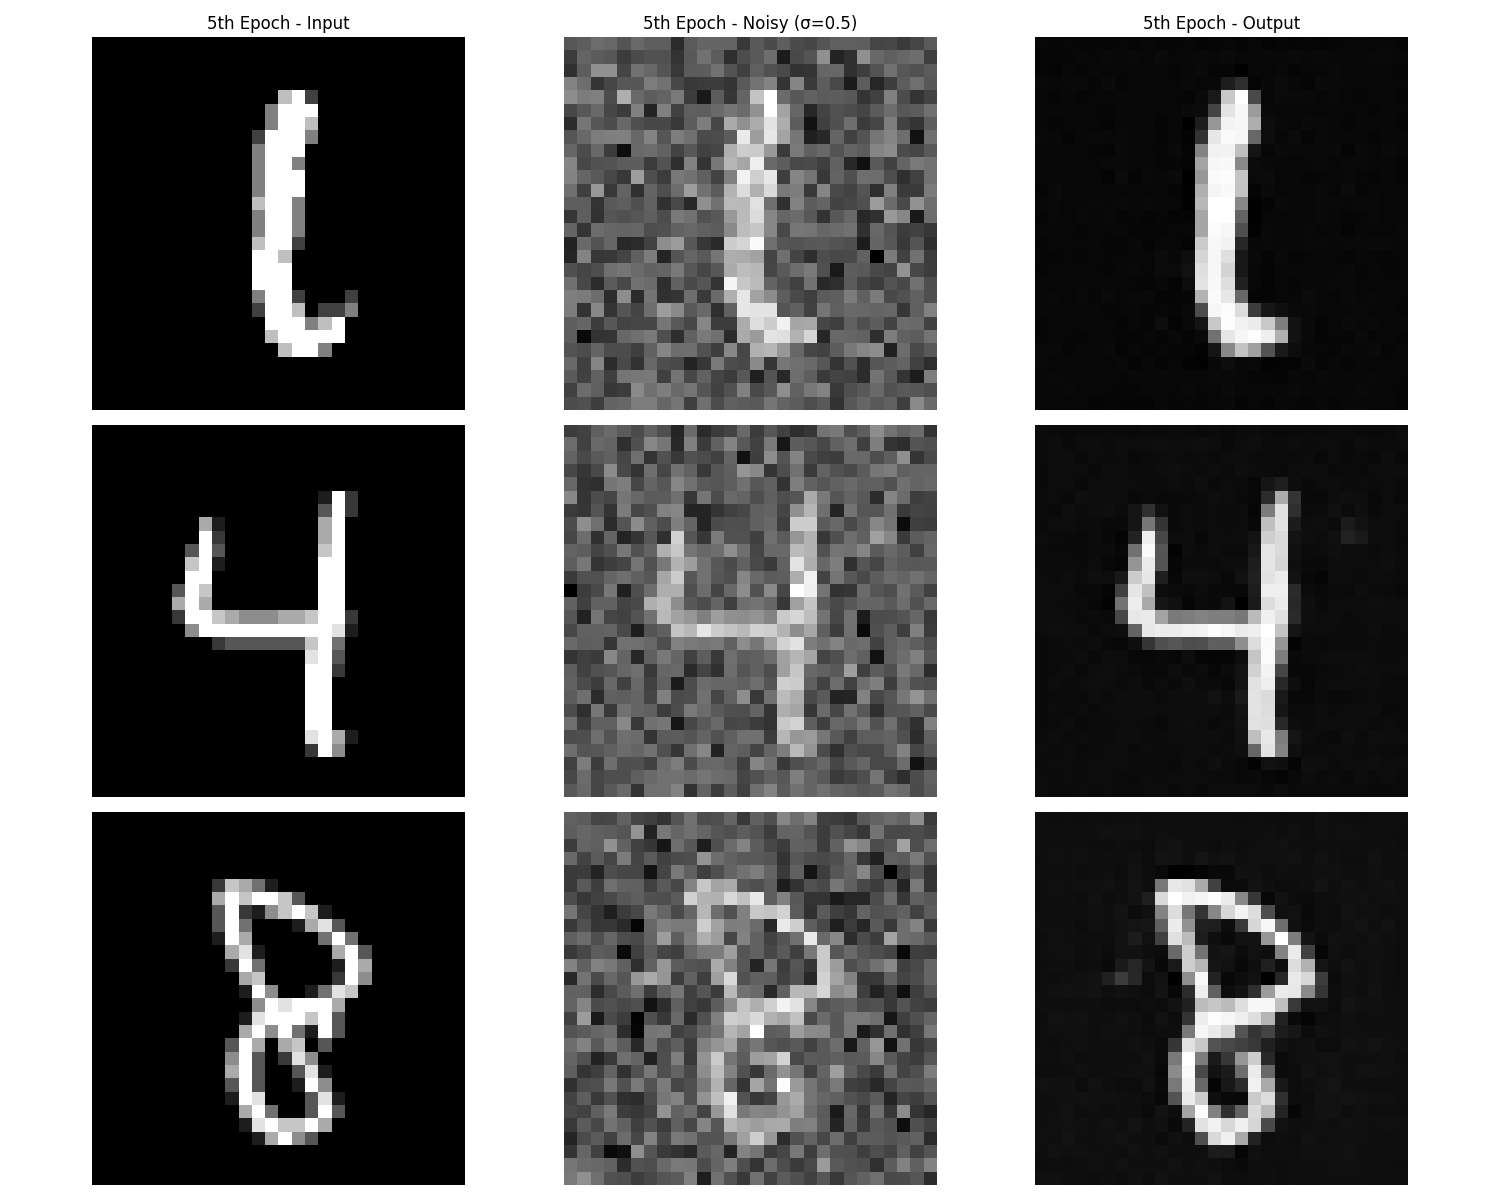
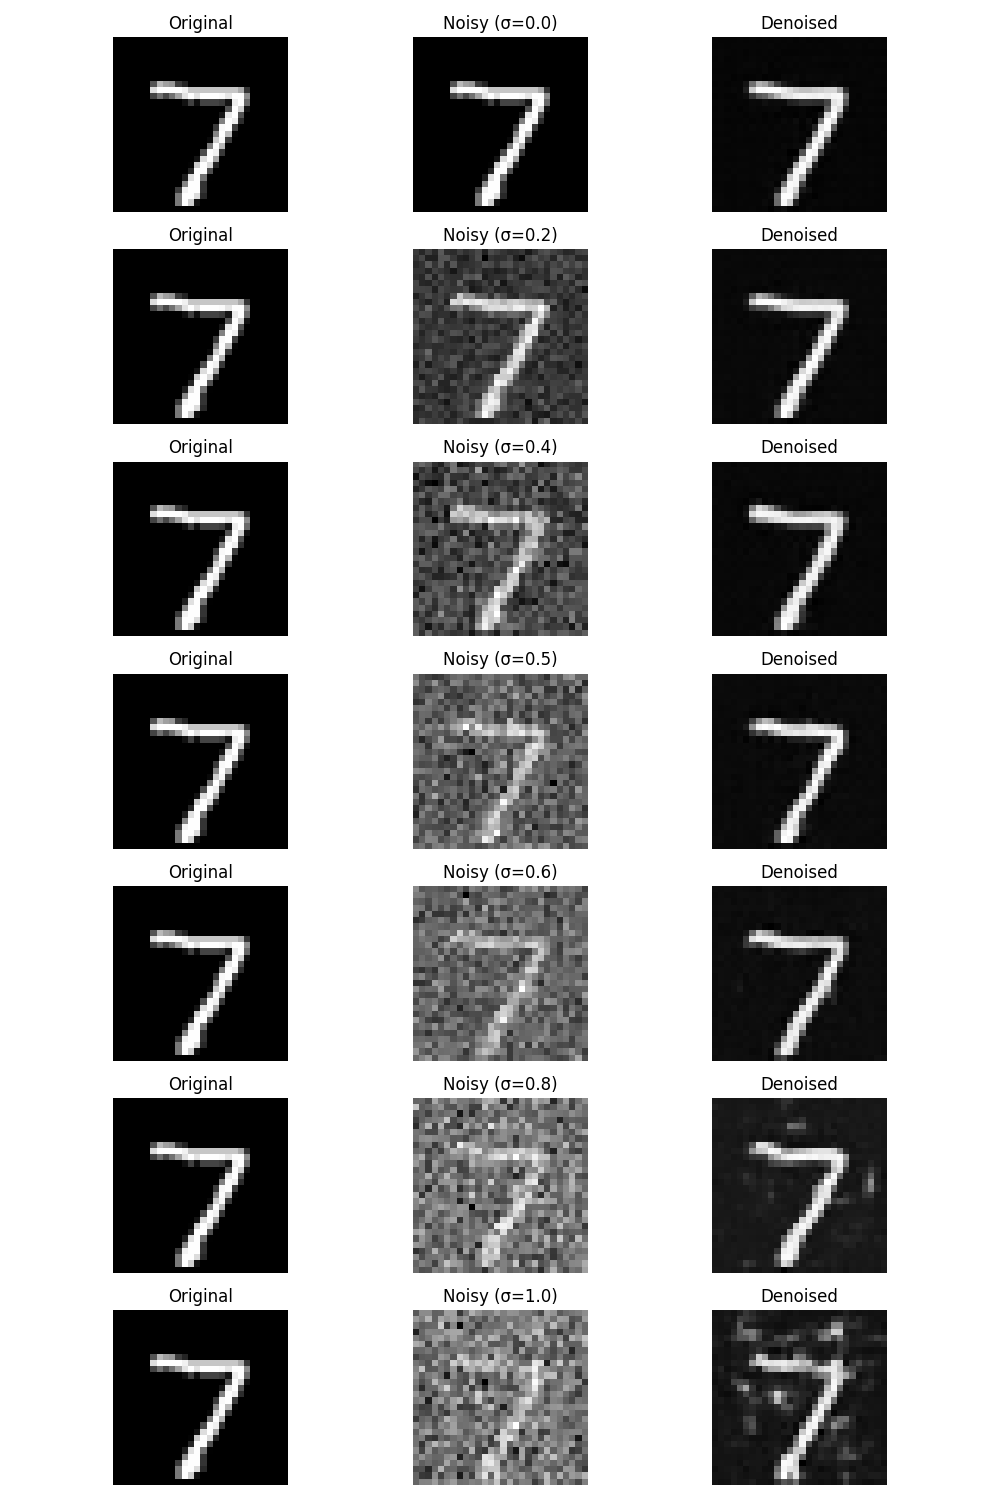
In this part, I follow the structure in the picture to build a U-Net and train it to denoise image by σ = 0.5. I set batch size to 256, and training is conducted over 5 epochs. Besides, I use Adam optimizer for training with a learning rate of 1 × 10⁻⁴. Finally, I sample results on the test set after the first and the 5-th epoch and sample results on the test set with out-of-distribution noise levels
Visualiztion of the noisig process
Traning loss curve
Results from 1st epoch model and 5th epoch model
Sample results from test with out-distribution noise level
Part 2: Training a Diffusion Model
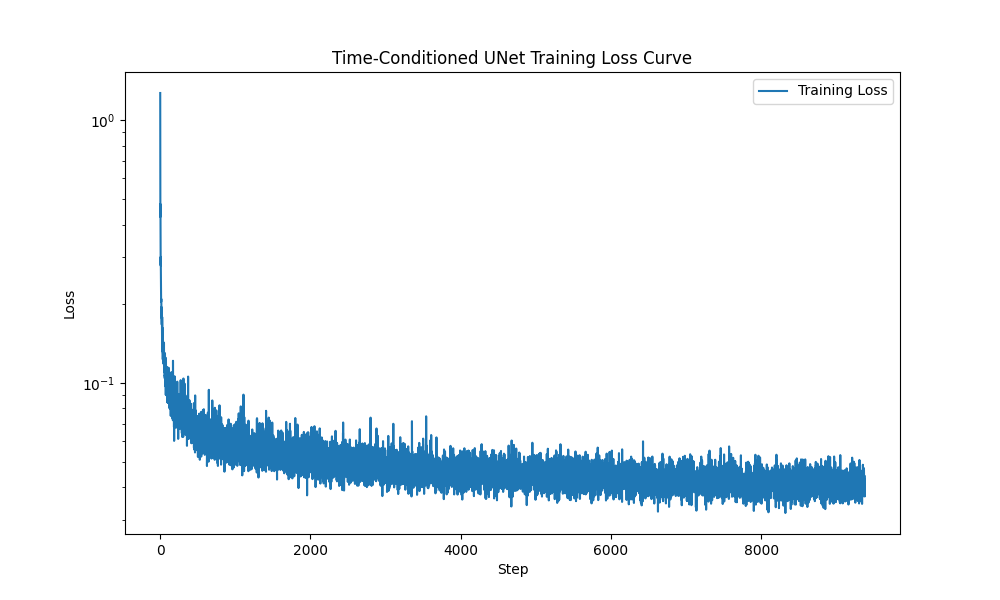
In this part, I implemeted DDPM and add an time-conditioning module to U-Net. For the training process, I set batch size to 128, and training is conducted over 20 epochs. Besides, I use Adam optimizer for training with a learning rate of 1 × 10⁻³, along with an exponential learning rate decay scheduler (gamma set to 0.1(1⁄num_epochs) )
Training loss curve
Sampling results for 5 and 20 epochs
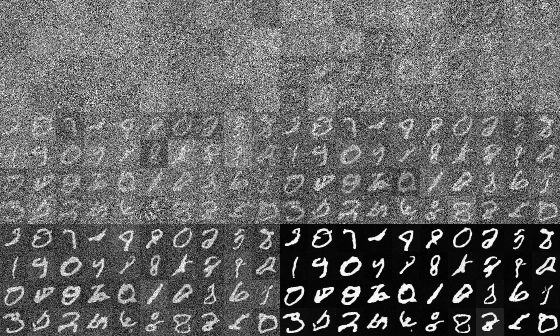
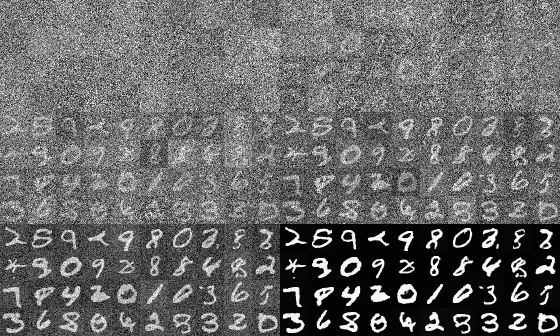
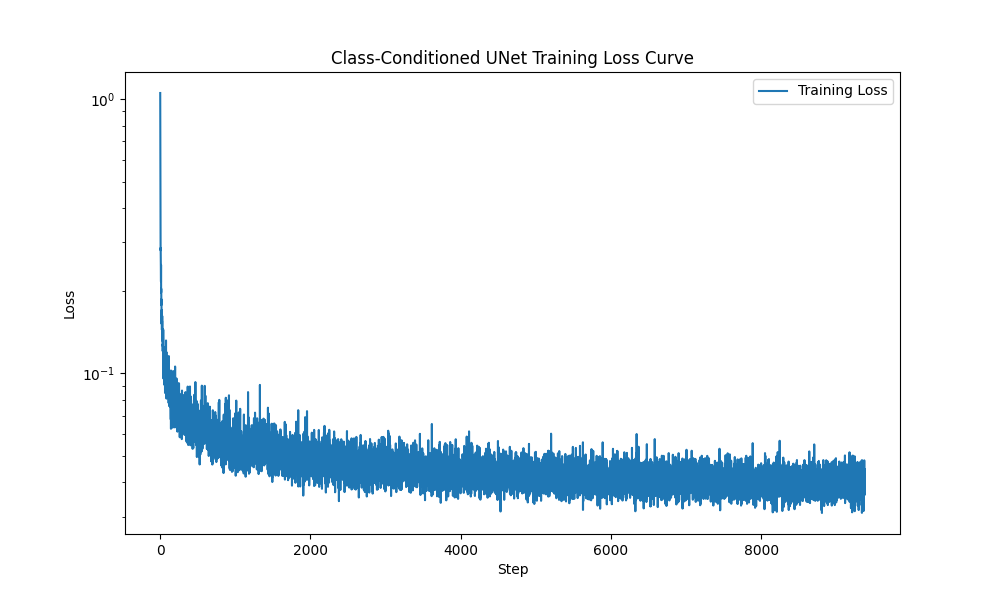
Then, I implemented class-conditioning U-Net and trained it with same configuration with time-conditioning U-Net.
Training loss curve
Sampling results for 5 and 20 epochs
